OBS Beauty Filter on Mac: How to Smooth Skin in OBS Studio
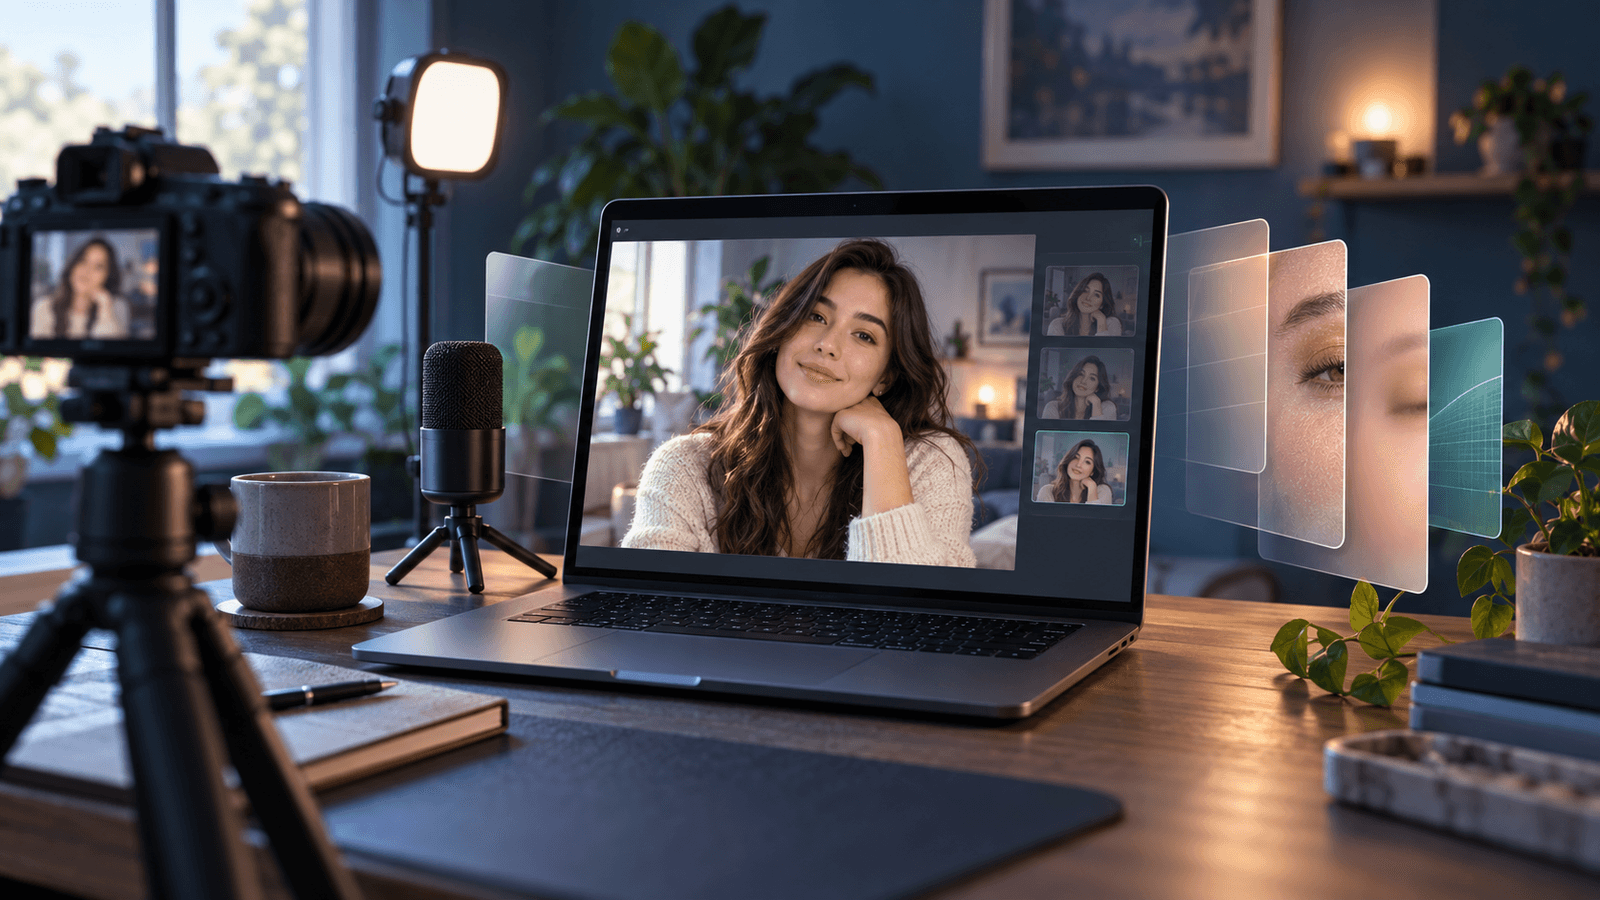
Quick answer: OBS Studio has no built-in beauty or skin-smoothing filter. Its video filters, such as Color Correction, Sharpen, Apply LUT, and Chroma Key, change the whole image. On a Mac, the simplest way to add skin smoothing is to process the camera before OBS gets it. Set up Face Studio in Xamera, then add a Video Capture Device source in OBS and choose Xamera as the device.
What OBS filters can and can't do
OBS's filters guide lists these video effect filters:
- Color Correction: brightness, contrast, gamma, saturation, and color.
- Sharpen, Apply LUT, and Scaling/Aspect Ratio.
- Chroma Key, Color Key, and Luma Key for removing a background color.
- Crop/Pad, Image Mask/Blend, Render Delay, and Scroll.
None of them detects your face or smooths skin. They apply to the whole camera image. Community scripts and third-party plugins add face-aware effects, for example the DeBlemish script on the OBS forum. Check each one for macOS and OBS version support before installing.
How to add a beauty filter to OBS on a Mac with Xamera
- Install Xamera on an Apple-silicon Mac running macOS 15.5 or later, and complete its camera-extension setup.
- In Xamera, choose your camera and set up Face Studio: skin smoothing, teeth whitening, face shape, eyes, nose, and lips each have their own control.
- In OBS, click + under Sources, choose Video Capture Device, and select Xamera as the device.
- Right-click the source and choose Filters if you also want OBS's Color Correction or a LUT on top.
- Check the preview in OBS, then stream or record as usual.

Green screen without a green screen
Xamera can replace your background with a solid color you choose, such as green. In OBS, add a Chroma Key filter to the Xamera source and key out that color. Results depend on lighting and on how cleanly Xamera separates you from the background. Expect softer edges than with a real green screen.
Send OBS to Zoom, Meet, or Teams
To use your finished OBS scene in a video call, click Start Virtual Camera in the OBS Controls dock (OBS's virtual camera guide). Then choose OBS Virtual Camera in the video app. If you only need the beauty filter and not the rest of the scene, skip OBS and choose Xamera in the video app directly. See Zoom filters on Mac.
Limitations
- Running Xamera and OBS together uses more CPU and GPU than either alone, especially with several OBS filters.
- Skin smoothing depends on lighting and camera quality. Improve the light first; see how to look good on camera.
- Xamera requires Apple silicon and macOS 15.5 or later. The Video Capture Device source must be able to see the Xamera camera; complete the camera-extension setup first.
Frequently asked questions
Does OBS have a beauty filter?
No. OBS Studio's built-in filters adjust color, sharpness, and keying for the whole image, with no skin smoothing. You need a script, a plugin, or a camera app that processes the feed before OBS.
Is there a free OBS beauty filter for Mac?
Community scripts exist, such as DeBlemish on the OBS forum. Check that a script or plugin supports macOS and your OBS version before installing.
Can I use an OBS beauty filter in Zoom?
Yes. Start OBS's virtual camera and choose OBS Virtual Camera in Zoom. If you only need the beauty filter, choosing Xamera directly in Zoom is simpler.
Why doesn't Xamera appear as a Video Capture Device in OBS?
Complete Xamera's camera-extension setup, then quit and reopen OBS. Also check that OBS is allowed in System Settings → Privacy & Security → Camera.
If you liked this tutorial, check out Xamera Camera for macOS.