How to Stop Google Meet From Zooming In on Your Face
· Updated
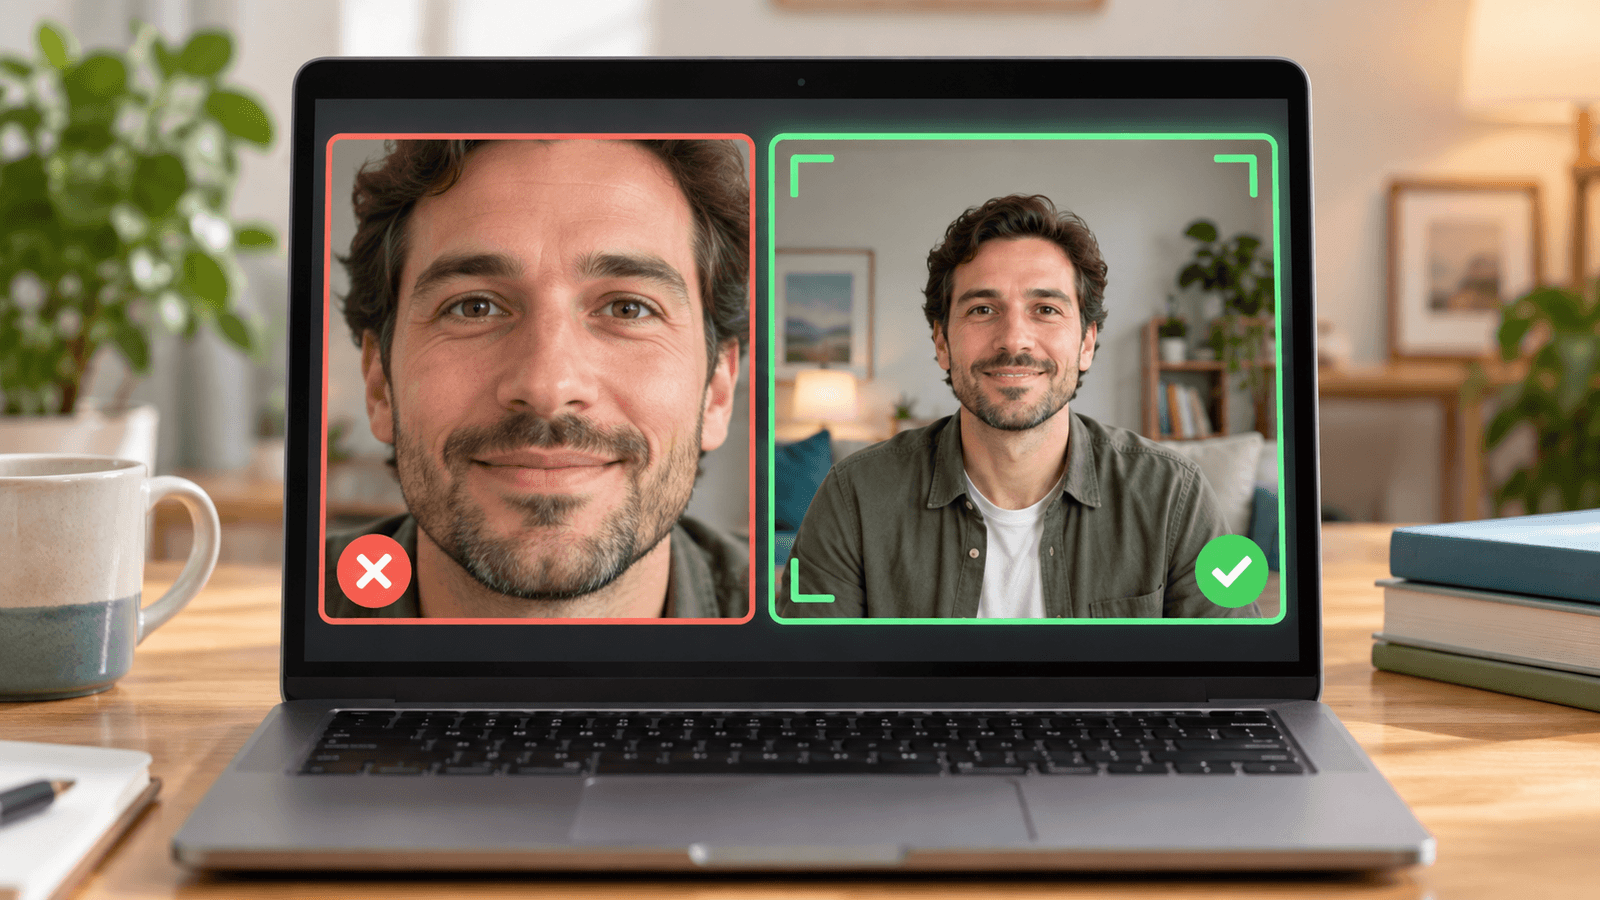
Quick answer: Google Meet zooms in on your face because of its Framing effect, which is on by default on computers. To stop it, open More options → Backgrounds and effects, select Appearance, and turn off Framing. In some Meet layouts, the menu item is called Apply visual effects. If your camera still zooms or follows you, turn off Center Stage in your Mac's Video menu.
How to turn off automatic framing in Google Meet
- On your computer, open Google Meet and select a meeting.
- Before joining or during the call, click More options (the three-dot button), then open Backgrounds and effects. If your layout shows Apply visual effects instead, open that panel.
- Select the Appearance tab.
- Scroll to Framing and turn the toggle off.
According to Google's video-framing instructions, framing is on by default on desktop and laptop computers. Without a virtual background, Meet frames you when you join but doesn't keep recentering you. With a virtual background, Meet always keeps you framed and centered as you move, so remove the background if you still see zooming.
The short walkthrough is also available as a video guide.
If it still zooms in: check Center Stage and your webcam
Google Meet isn't the only thing that crops your video. If the picture keeps zooming or panning to follow you after Framing is off, the camera itself is probably doing it:
- Center Stage on a Mac: while Meet is using the camera, click Video in the Mac menu bar and turn off Center Stage. It keeps you centered on supported cameras, such as the Apple Studio Display, Macs with a Center Stage camera, and an iPhone used through Continuity Camera. How to turn off Center Stage on a Mac has the steps for every macOS version.
- External webcams: some webcams have their own auto-framing, controlled in the manufacturer's app. Turn it off there.
- Zoom: if Zoom zooms in too, turn off Auto-framing in Zoom's Settings → Video & effects. See Zoom filters on Mac.
Why does Google Meet zoom in on my face?
Framing detects your face and crops the video so you fill more of the frame. That helps when you sit far from the camera, but it looks like an unwanted zoom when you're already close, or when you move and Meet keeps recropping with a virtual background on.
Use Xamera beauty filters in Google Meet
Xamera applies real-time beauty filters and background effects before your video reaches Google Meet. It doesn't zoom or reframe your video on its own.
The same recording before and after Xamera, not a comparison of Meet's Framing setting.

After adjusting your image in Xamera, choose Xamera under Meet → Settings → Video → Camera. Xamera requires Apple silicon and macOS 15.5 or later. For all of Meet's built-in effects, see Google Meet filters on Mac. The same camera works in FaceTime: see FaceTime filters on Mac.
Frequently asked questions
How do I stop Google Meet from zooming in?
Turn off Framing under Backgrounds and effects → Appearance (or Apply visual effects → Appearance). If you use a virtual background, remove it too, because Meet keeps recentering you while one is on.
Why does Google Meet keep zooming in on me?
The Framing feature crops the video to keep you centered. Meet normally frames you once when you join, but it frames continuously when you use a virtual background. If Framing is already off, check Center Stage in your Mac's Video menu or your webcam's own auto-framing.
Why can't I find the Framing toggle?
Open the effects panel before joining or during an active meeting, then look under Appearance. Depending on the current Meet layout, the panel is called Backgrounds and effects or Apply visual effects. Availability can also depend on the browser, hardware, account, and Workspace administrator settings.
How do I stop my MacBook camera from following me?
That's Apple's Center Stage. While an app is using the camera, click Video in the menu bar and turn off Center Stage. See how to turn off Center Stage on a Mac.
Can Xamera turn off Google Meet's automatic framing?
No. Framing is controlled by Google Meet, so you have to turn it off in Meet. Xamera processes the camera image before sending it to Meet; it doesn't change Meet's interface or settings.
If you liked this tutorial, check out Xamera Camera for macOS.